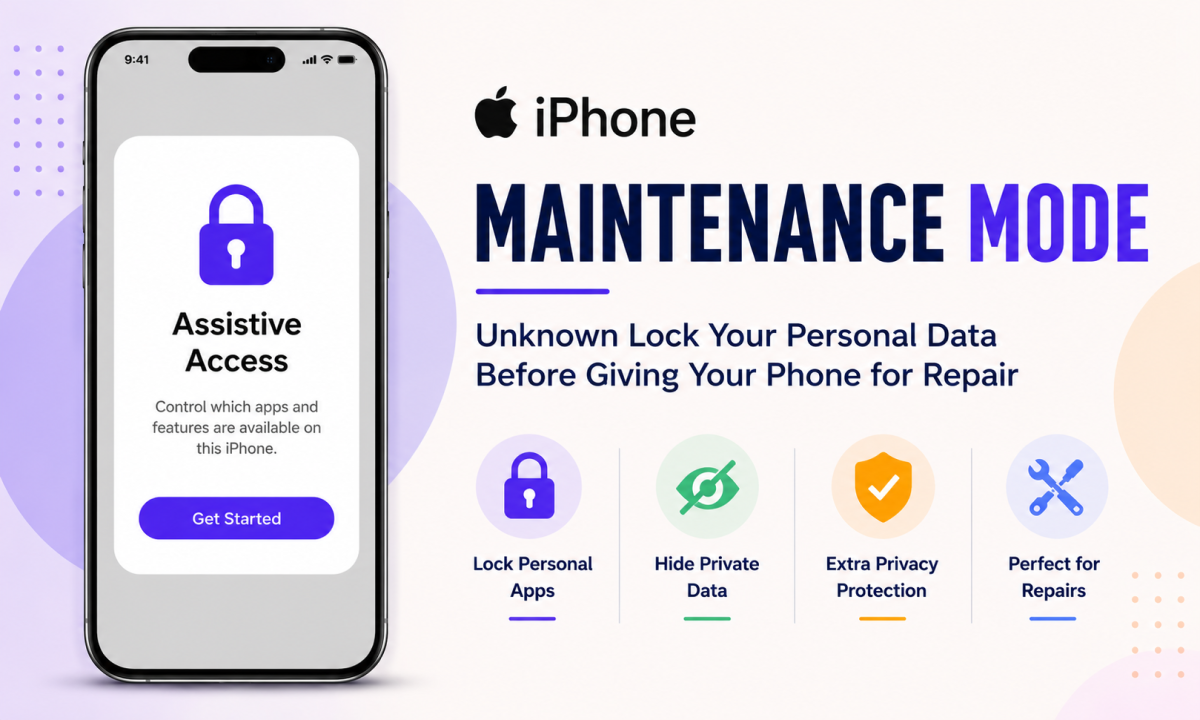

Protect Your iPhone Privacy Before Repair Using This Hidden iPhone Feature
We never used to feel comfortable handing over our unlocked phone to someone else. Normally, we never do it, but when it's time to repair it, we often have no choice.
Luckily, if you are an iPhone user, you don't need to delete your apps, log out of your Apple ID, or remove your personal data before giving it for repair.
Your Apple iPhone has a lesser-known but very useful feature called Assistive Access. Although it was originally designed to simplify the iPhone user experience, it can also work as an excellent repair mode. Here, you can choose which apps the repair technician can use while keeping all your personal apps hidden.
In this guide, we'll show you how to set it up step by step.
How Assistive Access Can Protect Your Personal Data Before Repair
When your iPhone is going for a screen replacement, battery replacement, charging port repair, camera replacement, or any other hardware repair, the technician always needs to test basic functions like Speakers, Camera, Buttons, and Face ID before and after the repair is done.
For that, you will either give him full access or wipe out your data before the repair. Instead of giving full access to your iPhone, Assistive Access lets you choose which apps the technician can use while keeping everything else hidden.
With this feature, you can:
- Hide WhatsApp and other messaging apps.
- Hide Instagram, Facebook, Snapchat, and other social media apps.
- Keep banking and payment apps inaccessible.
- Protect emails and personal documents.
- Allow access only to apps required for testing after repair.
How to Enable Assistive Access on Your iPhone
Step 1: Open Settings
Unlock your iPhone and open the Settings app.
Step 2: Open Accessibility
Scroll down and tap Accessibility.
Step 3: Find Assistive Access
Scroll to the bottom of the Accessibility menu.
Tap Assistive Access.
Step 4: Start the Setup
Tap Set Up Assistive Access.
Then tap Continue.
Your iPhone may ask you to verify your Apple ID before continuing.
Step 5: Choose the App Layout
Apple lets you choose how apps appear inside Assistive Access.
- Grid Layout
- Row Layout
Select the layout you prefer and tap Continue.
Step 6: Choose Which Apps Can Be Used
This is the most important step.
Only add apps that are actually needed while your phone is being repaired.
For example, you can allow:
- Phone
- Camera
- Face ID
- Safari or Chrome (Optional)
You can leave sensitive apps like these hidden:
- Banking Apps (Paytm, Google Pay, PhonePe)
- Messages
- Notes
- Gallery Apps
Only the apps you add will be visible after Assistive Access is enabled.
Step 7: Configure Each App
For every app you add, Apple lets you decide what the user can do.
For example, in the Phone app you can choose:
- Allow calls to anyone.
- Allow calls only to favourite contacts.
If you add the Camera app, you can choose whether users can:
- Take photos.
- Record videos.
- Use the front camera.
Only enable the features that are necessary for testing after repair.
Step 8: Review the Setup
After selecting your apps, tap Continue.
Your iPhone will display a summary of how Assistive Access works.
Read the information and tap Continue again.
Step 9: Create a Separate Passcode
Create a new passcode for Assistive Access.
This passcode is different from your normal iPhone unlock code.
Remember this passcode because you'll need it to exit Assistive Access later.
Step 10: Recovery Account (Optional)
Apple gives you the option to add a Recovery Apple Account.
If you don't want to set it up right now, tap Not Now.
Step 11: Disable SIM PIN (If Required)
If your SIM card has a SIM PIN enabled, your iPhone may ask you to disable it before Assistive Access can start.
Follow the on-screen instructions if this message appears.
Step 12: Start Assistive Access
Tap Start Using Assistive Access.
Enter the Assistive Access passcode you created.
Your iPhone will now switch to a simplified interface.
What Does the Technician See?
Once Assistive Access is active, only the apps you selected during setup are visible.
For example, the technician may only see:
- Phone
- Camera
- Photos
- Browser
Apps that weren't added simply won't appear on the screen.
This makes it much harder for anyone to accidentally open your chats, social media accounts, emails, or banking apps.
How to Exit Assistive Access
After your repair is complete, you can return your iPhone to its normal interface in just a few seconds.
- Triple-press the Side Button.
- Tap Exit Assistive Access.
- Enter the Assistive Access passcode.
- Your iPhone will return to normal.
Why is this important?
Instead of deleting your apps, sharing your iPhone passcode with the technician, or worrying about your data security, you can simply create a temporary, simplified version of your iPhone that only includes the apps needed for testing.
It only takes a few minutes to set up and gives you greater control over your iPhone privacy during a repair.





Leave your comments